Material list and preparatory work at a glance
So that your orchid feels in good hands at lofty heights, it is important to use the following materials:
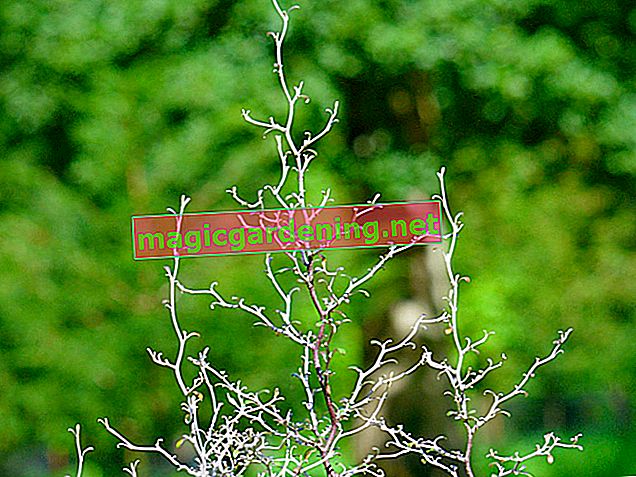
- A well-seasoned branch of a type of wood that does not rot quickly, such as teak, oak or cherry
- A disused, skin-colored nylon stocking
- Stainless wire to hang the branch in the room
- Brown darning yarn
- Sphagnum
- Spray bottle with lime-free water
also read
- Switching orchids to hydroponics - how does it work?
- Repotting orchids in seramis - these instructions show how to do it
- Repotting orchids properly - these instructions show how to do it
Before potting the orchid, dip the root ball in a bucket of soft water so that the aerial roots are nice and supple. Then pull off the culture pot and completely remove the substrate. Cut the nylon stocking into strips 2 to 3 cm wide.
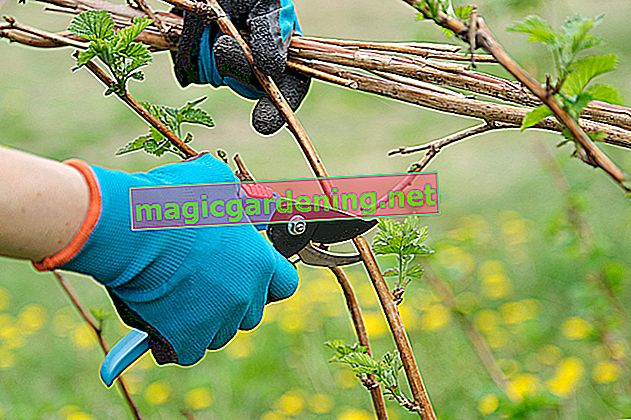
Instructions for tying on a branch
Place the moistened sphagnum on the branch and tie it with the darning twine. Position the substrate-free orchid on the moss so that there is space for all the roots. While a helping hand is holding the plant in place, tie the roots with the nylon strips. It is important to note that you do not overtighten the binding material so as not to damage the sensitive roots.
Finally, wrap the ends of the branches with wire and hang the orchid. The branch and plant should still be within easy reach so that you do not have to climb up a chair or ladder for each maintenance.
Tips
If an orchid is tied up on a branch, there is no substrate available to supply it with moisture. In this form of cultivation, high humidity is of vital relevance. Ideally, the epiphytic orchid is in a warm, humid greenhouse or in the winter garden next to a humidifier. In addition, steam-saturated spa rooms such as the bathroom or indoor pool come into consideration.