Possible types of connection
- Hose connection
- Rain barrel connector
Hose connection
This method is definitely cheaper, but it also has many disadvantages compared to the rain barrel connector. You probably still have an old garden hose that serves as a connection. However, this will probably have to be replaced more often and represents a very loose connection.
also read
- Use the rain barrel for greenhouse irrigation
- Connect a hose to the rain barrel
- Empty the rain barrel with a hose
The rain barrel connector
Even if a rain barrel connector is a bit more expensive to buy, it has a long service life. Most of the time, you can get a complete set in stores
- a hose
- two connections
- two seals
- two lock nuts
What else is needed
The construction of a connection between two rain barrels (€ 149.95 at Amazon *) sounds complex, but is very simple with the right instructions. Helpful tools make work even easier.
For the hose connection
- a (garden) hose
- a hose cutter
- some fabric tape
For the rain barrel connector
- a rain barrel connector set
- a crown drill (partly included in the set)
- a drill
- Sealing rings
manual
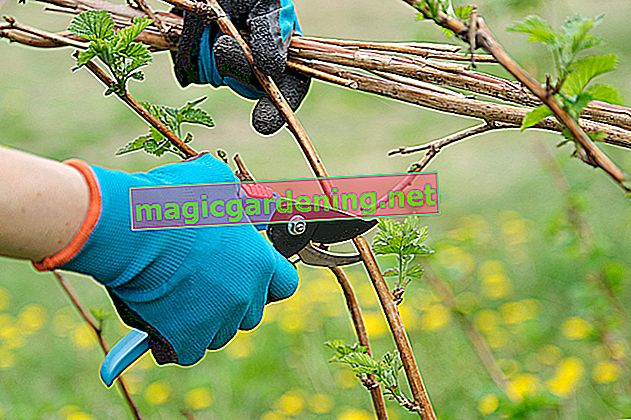
The hose connection
- Rinse the hose thoroughly.
- There must be no foreign objects inside.
- Make sure there are no cracks in the material.
- Choose the appropriate length depending on the distance between the rain barrels (no longer than two meters).
- Cut the hose accordingly.
- Make sure that you make the cut cleanly (no frayed edges).
- Hang the hose over the edge of a barrel.
- Fix it with the fabric tape.
- Be careful not to pinch the hose when doing this.
- Suck water at the other end of the hose.
- This creates a vacuum so that the water can easily run through the hose.
- Fix the end of the hose in the second barrel.
The rain barrel connector
- Drill holes in the barrels to install the hose later.
- Pay attention to a clean execution here too.
- Attach the connector by inserting it into the holes.
- Fix the connector with the lock nuts.
- Seal any with the sealing rings.