Create simple shapes out of boxwood
Use a template so that the first shaped cut is successful. You can buy these ready-made - they are often wire racks that are bought in the right size and placed over the book - or you can simply make some yourself. This also has the advantage that you can adapt the template to your book and your own ideas instead of the other way around, as would be the case with a purchased template with a predetermined shape and size. But before you use the template, first cut the young plants:
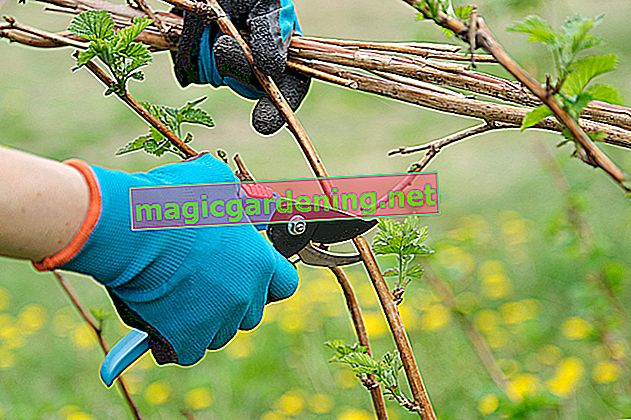
- Roughly cut the plant into the desired shape by eye
- Cut a little at a time, but more often!
- The smaller the work steps, the more precise the result will be later.
- If you cut off too much at once, you will get irregular shapes.
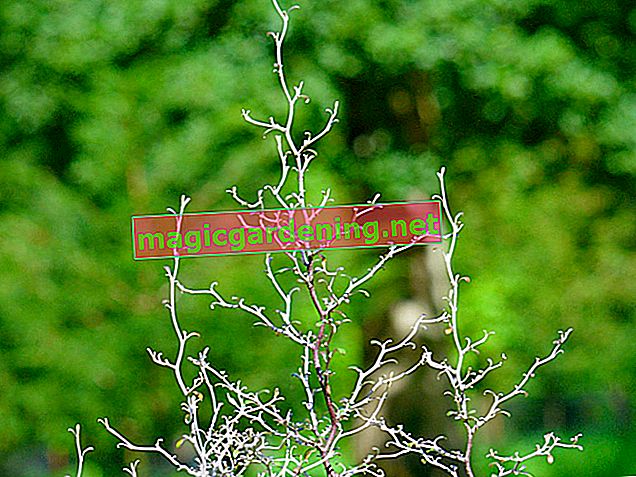
- Due to the slow growth of the boxwood, these need at least a year to grow out.
- After this first cut, let the box grow.
- After a few weeks, lay the pattern over the plant.
- Cut according to the pattern lines.
also read
- How to cut a boxwood into a ball - instructions and tips
- Can you cut boxwood in autumn?
- Topiary in boxwood - how to cut a pyramid
Repeat this step over the next few years if you want the box shape to grow and enlarge. When the plant is the shape and size you want, simply trim it back slightly at the intervals appropriate for the shape and plant for a clear outline and dense growth pattern.
Make stencils yourself - that's how it works
Cutting templates are quite straightforward to make. For a cone or pyramid shape you only need a few canes (for example made of bamboo), which you tie together like a tent. The rods serve as guide rods during the cut, up to which the boxwood growth is trimmed back. A ball can be cut with the help of a semicircular shape made of cardboard, styrofoam or another suitable material, but you can also bend several wires over the book so that they form a ball. Simply insert the ends of the wires into the ground or into the pot substrate.
Bring box hedges into shape
An effective form hedge must be evenly covered with leaves. This is not easy to achieve in forms in which a lot of leaf shade removes light from the lower parts of the plant. Don't allow a hedge to become top heavy, flattened at the top or tapered at the bottom, with bare shoots at the base. Instead, let the hedge run evenly from a narrow tip to a wide base so that it can be pruned easily, grows healthily, and is green at the bottom instead of bare from lack of light.
Tips
A tape helps to trim the shaped hedge precisely and evenly to a height. Stretch a colored ribbon taut at the desired hedge height and use it as a guide when cutting. The tape is held in place by posts stuck into the ground at the side.