Drying brings stability
Salt dough is a great handicraft material that has delighted young and old for many decades. The production of the mass and the subsequent handicrafts are fun and lure a lot of creativity out of us. After the works are finished, the crafting process is far from over. If you want to admire the results longer, you have to dry them. As a result, they no longer lose their shape and last a long time.
also read
- Dry mushrooms for longer storage
- Drying Celery Leaves - Here's How To Do It Right
- How do peas dry without loss of quality?
Drying salt figures, but how?
There are basically two options for drying salt dough figures:
- Air drying
- Drying in the oven
Both methods allow the dough to dry, but they cannot be used in any way for optimal results. Which method is more suitable depends largely on the characters themselves. Of course, also about whether there is a stove nearby.
Flat or relief-like figures?
The high temperature in the oven lets the salt dough dry faster than the air can. However, the oven is not always the best choice.
- Oven is suitable for flat figures
- also for evenly shaped works of art
If you want to dry salt figures that are relief-like or thicker in some places, you should do without the fast oven. Even if small children would like to hold their finished works of art in their hands right away, a little patience is required. In the case of uneven works, the oven simply does not produce beautiful results, they are defaced by the heat. After that, one or the other tear can roll down.
- Air dry uneven shapes for a long time
- the shapes are retained
Tips
Regardless of which type of drying you have decided on, the figures should always first air dry for a few hours. This strengthens the given shape and withstands intense heat better.
Dry the salt dough in the oven
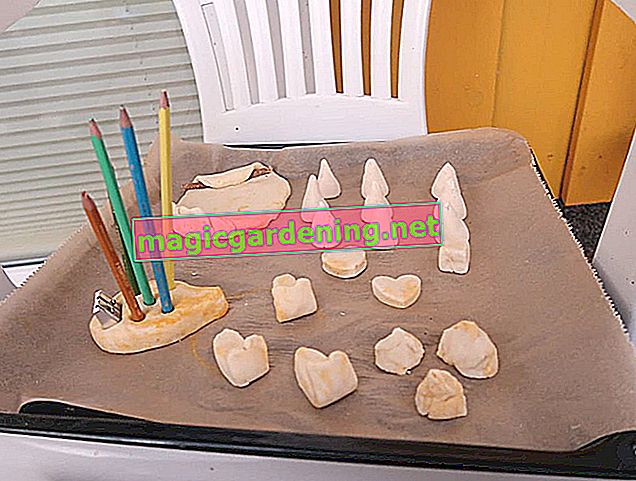
- Line a baking sheet with parchment paper.
- Carefully place the salt dough figures on the baking paper so that they do not break. They shouldn't touch each other so as not to stick together later.
- Heat can crack the dough or ruin the beautiful work of art with unsightly bubbles. Brush the figures with a neutral cooking oil. This makes the dough more elastic and stays nice and flat.
- Initially only heat the oven to 50 ° C.
- Slide the tray onto the middle rail and leave the oven door ajar for at least the first hour.
- Maintain the low temperature: one hour per 1 cm of thickness.
- Then increase the temperature to 120 ° C.
- Bake your works in about 1 hour at this temperature. Smaller figures could be finished a little earlier, larger figures can stay in the oven for up to 75 minutes.
Slow and gentle air drying
Air drying is a time-consuming process that requires patience and a suitable place where the figures can lose their moisture unscathed.
- Line a large tray with parchment paper.
- Distribute the dough figures on top, with a little space between them.
- Put the tray in a dark room where there is little moisture. Damp bathrooms, kitchens with steaming dishes and laundry rooms are less suitable.
- Turn the figurines every few days if possible without damaging them.
- Test whether the figures have dried sufficiently. To do this, carefully press the figures with one finger. Feel whether the pond is still giving way slightly or is very hard.
- Thick figures can occasionally secrete salt when drying, but this is not a problem.
- When the figures are completely dry, you can make them further as you wish.
Tips
Allow two days for drying for every 1 cm of thickness. Depending on the air temperature and humidity in the room, this value can vary a little.
Conclusion for quick readers
- Stability: The drying of salt figures strengthens the shape and gives durability
- Methods: Air dry slowly or quickly in the oven
- First step: Always allow the figures to air dry for a few hours.
- Oven: Suitable for flat and even works
- Temperature: per cm of thickness 1 hour at 50 ° C .; then about 1 hour at 120 ° C .; Leave a gap open
- Tip: Brush with oil to avoid cracks and bubbles
- Air drying: Suitable for relief-like and uneven works
- Location: In a dry and dark room; approx. 2 days per cm of thickness
- Test: press the figure lightly with your finger. If it gives way, it is not dry yet

The garden journal freshness-ABC
How can fruit and vegetables be stored correctly so that they stay fresh as long as possible?
The garden journal freshness ABC as a poster:
- Order here cheaply as an A3 print for your kitchen
- as a free PDF file to print out yourself