Suitable for beginners and promising - vegetative breeding techniques
In order for your orchid cultivation to take shape quickly in the early stages, the focus is on vegetative (asexual) reproduction. The following 3 methods can be put into action on the windowsill. New orchids with the same wonderful attributes of the mother plant will thrive without having to suffer countless demotivating setbacks. All 3 techniques are examined in more detail below:
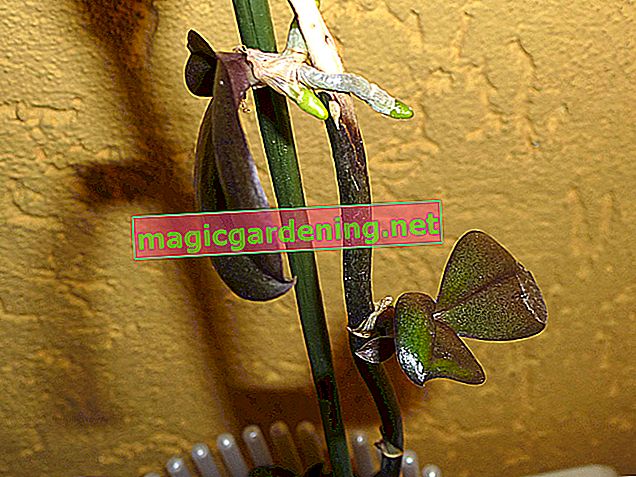
Kindel
- Calanthe, Dendrobium, Epidendrum and Phalaenopsis are suitable
- Leaves and aerial roots thrive on the bulbs or on the flower stem, where flowers should actually sprout
- Cut off these children when they have at least 2-3 leaves and several aerial roots
- Plant each branch in a transparent culture pot with fine-grain orchid soil
- Keep it slightly damp under a hood or in a greenhouse at 25 degrees and fertilize liquid every 4-6 weeks
also read
- Divide orchids correctly for propagation - this is how it works
- Growing cacti yourself - tips for growing
- Propagate beeches yourself - tips for propagation
Cuttings
- Climbing orchid species such as Vanda or Angraecum are suitable
- Cut a 40 cm long, non-flowering head cutting
- Defoliate a cutting in the lower half
- Use a small-grained pot with orchid substrate (€ 7.98 at Amazon *)
- Put a plastic bag over it, supported by 2-3 wooden sticks as spacers
- Spray regularly at 25-28 degrees Celsius and water sparingly
division
- Many branching (sympodial) orchid species such as Brassia, Cymbidium or Oncidium are suitable
- Pot the orchid and shake off the soil
- Divide the root ball so that each segment has at least 3 bulbs
- Plant each section in a pot with orchid substrate
Growing new orchids from seeds yourself - a brief overview
To start an orchid cultivation based on sowing seeds, you should have many years of experience in vegetative propagation. Orchid seeds do not have the natural nutrient tissue that other plant seeds do. So that the seeds germinate and the seedlings are viable, they are given an artificial supply under sterile conditions that replaces the natural symbiotic fungus. The individual steps are briefly summarized below:
- Carry out a manual pollination under 2 related orchid flowers as soon as the flowers have opened
- Remove the seeds from the ripe seed pods and sterilize them in hydrogen peroxide
- Prepare a special nutrient medium under sterile conditions and fill it in a test tube
Apply the sterilized seeds to the culture medium with an inoculation loop and close the test tube. It is important to note that you are meticulous about absolute cleanliness and that you always clean the tool with ethanol. Place the cultivation vessels in a bright, warm location with a constant 25 degrees Celsius. If germination sets in after a few weeks, this is the beginning of a 5 to 15 year waiting period until the first flowering.
Tips
You avoid the great effort of sowing if you scatter the seeds on the root disc of a mother plant. With a little luck, the symbiotic fungus will be present in the substrate and cause the seeds to germinate.