How to plant indoor calla from onions in a pot
- Clean the pot well
- Fill in fresh potting soil
- Insert the onion
- Press the earth down
- Immerse the pot in a bucket of water
Place the flower bulbs so deep in the pot that the tip just peeks out.
also read
- Interesting facts about the calla potted plant
- Hibernate Calla properly
- Winter calla in a pot
Even if the pot is still good enough for the onion, you should always repot Calla in spring to prevent diseases and pests.
Planting calla in the garden
The onions are only planted outdoors when the ice saints are over at the end of May.
Dig holes large enough so that the onion can be inserted about five to seven centimeters deep. Make sure that the pointed end is facing up when planting.
Garden calla flowers earlier if you prefer the bulbs in the pot from March. From May the plant is planted in the flowerbed.
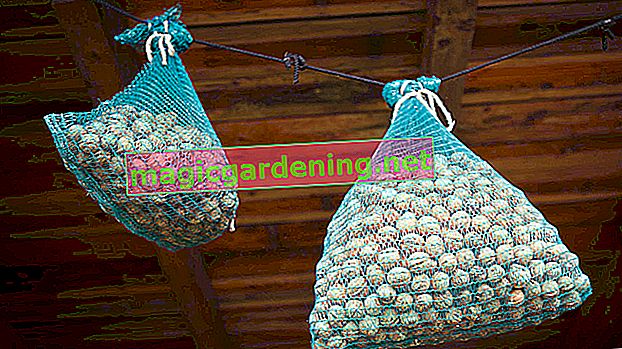
Store calla onions correctly
In October, calla bulbs need to be dug out of the flowerbed, as most varieties are not winter-proof.
Remove soil and remaining leaves from the bulbs and let them dry well.
Store them in a cool, dark place, ideally ten degrees. Do not place the tubers too close together to allow air to circulate.
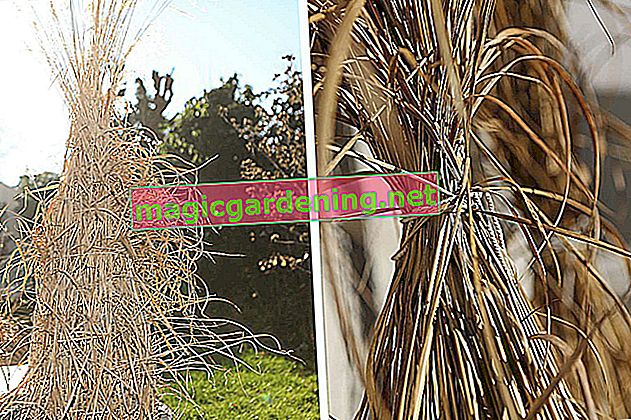
Hibernate onions in a pot
Zimmer calla also winters well in pots. Let the soil dry out completely and place it in a cool, bright place.
You are not allowed to water or fertilize during the winter break.
Multiply the calla over the onions
Like all flower bulbs, the calla bulbs form small secondary bulbs during the growing season. These can be easily cut after excavation.
After the winter break, you can grow new calla plants from the bulbs obtained in this way and look after them in the garden or in the flower window.
Tips & Tricks
Some calla varieties do not have bulbs, but grow from rhizomes. These varieties can be propagated by dividing the root. In terms of care, the species only differ in terms of wintering.