List of materials and preparatory work
Before the practice comes the theory in the form of a true-to-scale plan. Find out in detail about the different qualities of the materials, because paving stones are also available as eco or seepage stones with improved water permeability. The following materials and tools are required:
- Cobblestones
- Curbs
- Sand, gravel, gravel
- concrete
- Joint sand
- wheelbarrow
- Spade, broom, rake, spirit level, rubber mallet
- Vibrating plate (€ 214.60 at Amazon *) (rented)
- Clinker cutter (rented)
- Pegs, guideline, (4.86 € at Amazon *) meter measure
also read
- Lay garden slabs correctly
- Correctly paving garden paths - tips and tricks
- Border edging - lay it yourself
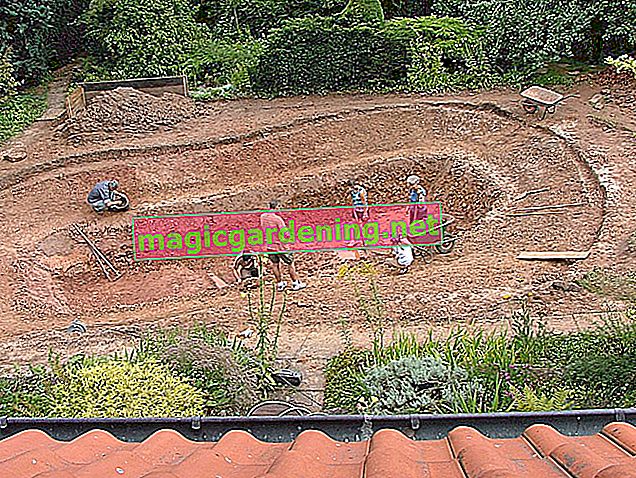
Mark the area with the stakes and the plumb line. Use the spade to dig the ground 30 to 35 cm deep. In regions with severe winter frost, we recommend an excavation depth of 60 to 90 cm.
Setting curbs and laying bedding - this is how it works
Curbs are indispensable for the reliable stability of the entire paved area. A concrete foundation 10 to 20 cm thick prevents the stones from slipping. Go stone by stone and knock everything down with the rubber mallet after checking the course with the spirit level. As a rule of thumb, curbs should be a third of their height in concrete.
Only when the concrete of the strip foundation has dried do you lay the bed for the paving stones. To ensure that rainwater can drain off properly, please allow for a gradient of at least 2 percent. A 20 to 30 cm thick layer of sand, gravel or crushed stone acts as a subsoil that does not settle and is fastened with the vibrating plate. Spread a 4 to 5 cm thick layer of sand on top and smooth it out.
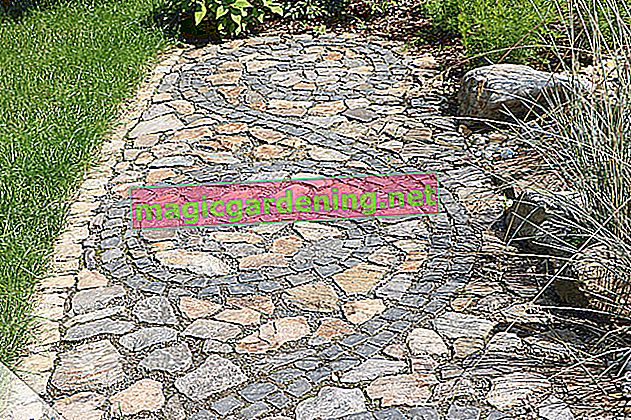
Laying paving stones - how to do it right
Lay the paving stones in the planned pattern with a joint width of 3 to 5 millimeters. Tap each stone firmly into bed with the rubber mallet. It is important to note that you regularly check with the spirit level whether you are inserting the stones straight and in alignment. With the help of the clinker cutter, you cut each paving stone precisely into shape.
Pay special attention to the quality of the jointing sand, do not worry about weeds and ants later. Polymeric joint sand, e.g. B. Dansand, is environmentally safe. Thanks to its composition, the material suppresses annoying weeds and keeps ants away. Sweep the joint sand repeatedly with the broom until the paving stones form a complete surface.
Tips
Have you not used up all the paving stones? Then simply use the excess to create a fireplace in the garden. To do this, dig a 15 cm deep pit, cover the ground with gravel and stack the paving stones all around in an offset. A little mortar between the joints creates the necessary stability.