Best harvest date and skillful preparation
In order for dried sage to have the highest possible aromatic content, the carefully considered time for harvesting is important. Those who tolerate the essential oils rise to the maximum level shortly before flowering in June / July will be rewarded with premium quality dry herbs. This is how harvest and preparatory work are organized:
- Gently rinse the herb bush on the day before harvest
- On the harvest date in the morning hours, cut off whole branches or shoot tips
- The plant should be completely dry
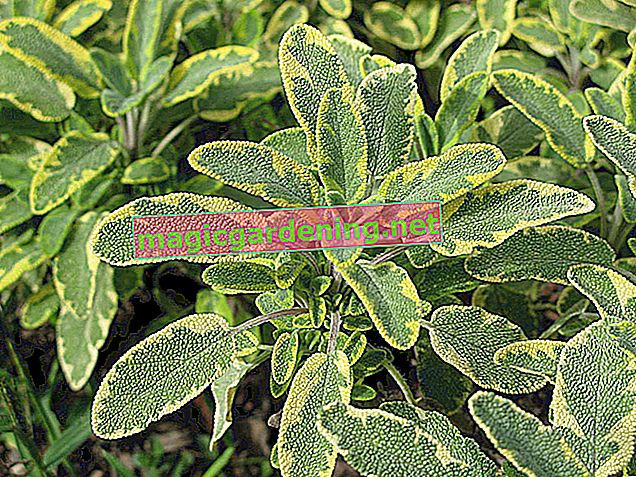
- Sort out damaged, withered parts of plants and leaves with white spots
- Simply shake off dust and crumbs
also read
- This soil gives sage its full aromatic power
- The right way to harvest sage - a guide
- Propagating sage - a practical guide
Sage leaves dry better if they are not washed beforehand. A longer storage between harvest and processing has a negative effect on the later taste and healing properties.
Sage is so easy to air dry
Immediately after the harvest and preparation, you start drying. The classic method uses the most natural preservative - air. Follow these steps:
- Tie whole shoots together in small bundles in the lower area
- Hang upside down in an airy, dark and rain-protected place
- Individual sage leaves dry laid out on a gauze frame or newspaper
- Alternatively, tie the leaves on their stems with raffia to make small bunches and hang them up
Depending on the weather, the process takes between 8 and 14 days. Since the stalks contract due to the loss of water, the binding material is regularly tightened a little. Dried sage rustles and crumbles when touched lightly. The dried herbs are stored in an airtight container, labeled with the name and date.
Sage leaves dry in the oven - that's how it works
Air-drying herbs takes a long time. At the same time, not only is part of the aroma lost, but you keep sweeping small parts of the plant out of the corners. If that is too time-consuming, you can use the oven to dry it quickly within a few hours. How to do it properly:
- Line a baking sheet with parchment paper
- Place fresh sage on top so that the parts do not touch
- Preheat the oven to 40 degrees with convection
- Slide in the baking sheet and clamp a wooden spoon or cork in the oven door
While the sage leaves are drying, they are turned every 30 minutes. The process is completed after about 6 to 8 hours. Let the herbs cool in the switched-off oven so that they can be crushed or filled whole into a dark jar. Never close the container when it is warm, as condensation will form. Dried sage can be kept for up to 2 years.
Sage drying comfortably in the dehydrator
For hobby gardeners with a high volume of fruit, vegetables and herbs, it is worth investing in a dehydrator. This works in a similar way to the oven in that warm air flows around several sieve floors. The convenient method scores with the advantages that the oven is not permanently occupied and energy consumption is reduced. Thats how it works:
- Spread the leaves or shoots on the sieve bottoms
- The individual floors occupy a maximum of 90 percent
- Remove unneeded sieves from the dehydrator
- Never dry different types of herbs at the same time
Set the device to the number of degrees recommended in the operating instructions. The sage leaves usually dry within 8 to 10 hours. If drying does not take place evenly, switch off the device and replace the lower sieve with the upper one. Dried sage from the dehydrator should still be green in color and easily pliable.
Dry extra quickly in the microwave
Garden sage is one of the few herbs that are suitable for drying in the microwave. Put the prepared leaves or shoots in a microwave-safe container. Sage leaves also dry faster with this method if they are not stacked. If you place the herbs on top of one another due to the limited space available, the process is interrupted every 15 seconds and the herbs are turned.
- Set the microwave to a maximum of 200 watts
- Check the degree of drying every 10 seconds
The intensity of the treatment causes a comparatively high loss of essential oils in the leaves. Dried sage from the microwave is therefore particularly suitable for use in drying arrangements or for smoldering as a smoking material.
Tips & Tricks
The long-term use of sage as a tea or medicine is not recommended due to its poisonous thujone content. In high doses, this natural neurotoxin causes cramps, dizziness and hallucinations. On the other hand, there are no concerns in a kitchen-friendly seasoning dose.
GTH

The garden journal freshness-ABC
How can fruit and vegetables be stored correctly so that they stay fresh as long as possible?
The garden journal freshness ABC as a poster:
- Order here cheaply as an A3 print for your kitchen
- as a free PDF file to print out yourself